1" x 20 cm Metal Cartridge
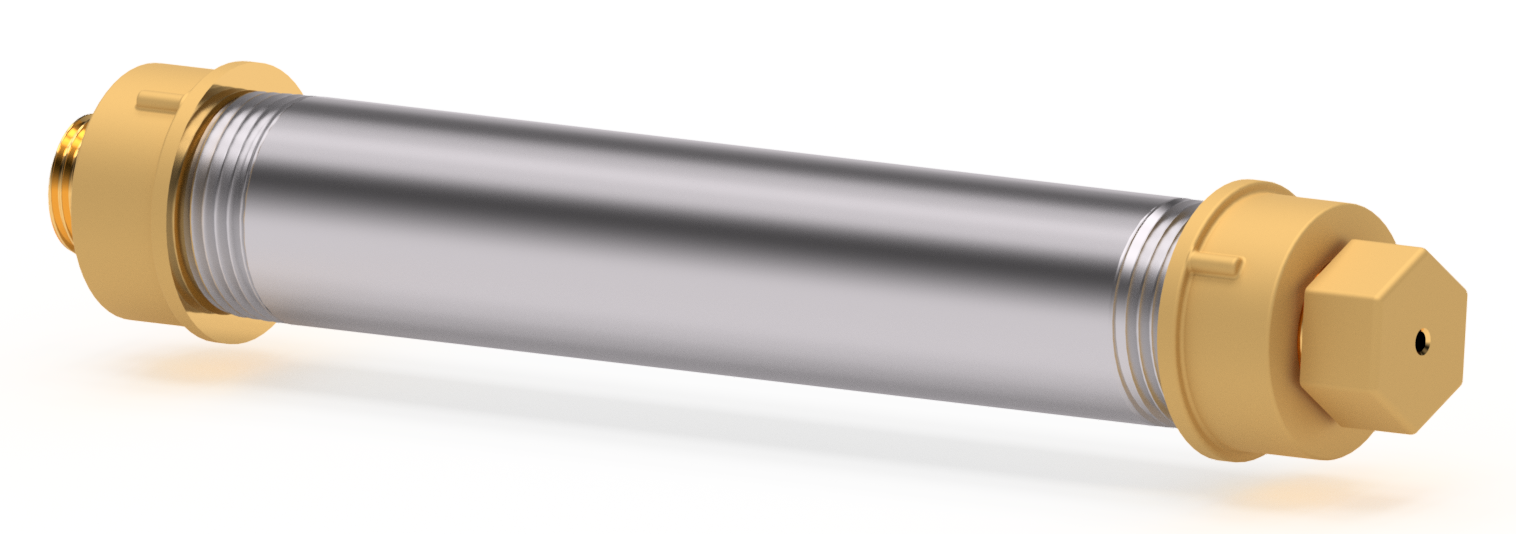
To facilitate the injection of recycled plastic using solar thermal energy, Plastok prototyped the metal cartridge injection process. Building upon Plastok's work, the cartridges developed by volks.eco are essential for portable injections and are worldwide DIY.
The components required are all standard :

-
-
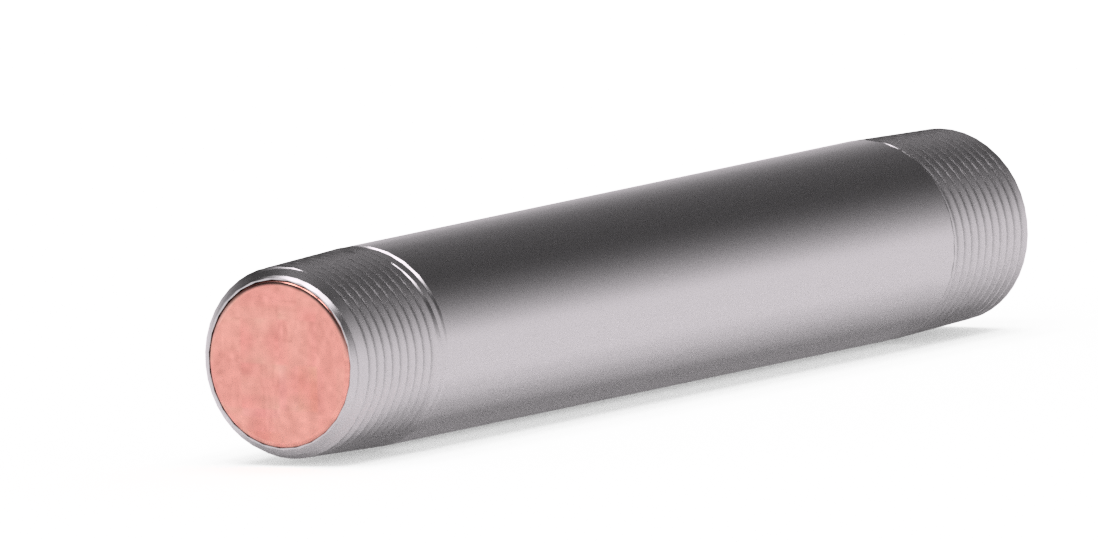
1 x two sides threaded 1" tube x 20cm (1)
-
2 x 1" to 1/2" reducers (2)
-
1 x piston (3)
-
2 x standard 1/2" copper cap (3.1)
-
1x 1/2" metal tube (3.2)
-
-
1 x 1/2" cap (4)
-
Tools needed :
-
Metal file
-
Metal saw
-
Hammer for securing components
-
Sandpaper for polishing surfaces
-
Dril + 3mm metal drill bit
Creating the Metal Cartridge
STEP 1: CLEAN THE METAL TUBE
The Components
-
-
1 x two sides threaded 1" tube x 20cm (1)
-

Utilize the metal file to ensure that the tube ends are clean and free of any burrs. This step will facilitate the introduction of the piston.
STEP 2: CREATING THE PISTON
The components
-
2 x standard 1/2" copper cap (3.1)
-
1x 1/2" metal tube (3.2)

-
Using a metal saw, cut the 3/4" metal tube into 20mm sections. Then, use a metal file to clean the tube ends and ensure they are free of any burrs, facilitating the assembly of the copper caps.

-
Assemble the 20mm 3/4" metal tube with the two copper caps, use the hammer and a flat surface.
STEP 3: AJUST PISTON TO METAL TUBE
The components
-
2 x standard 3/4" copper cap (3.1)
-
1 x 3/4" metal tube (3.2)
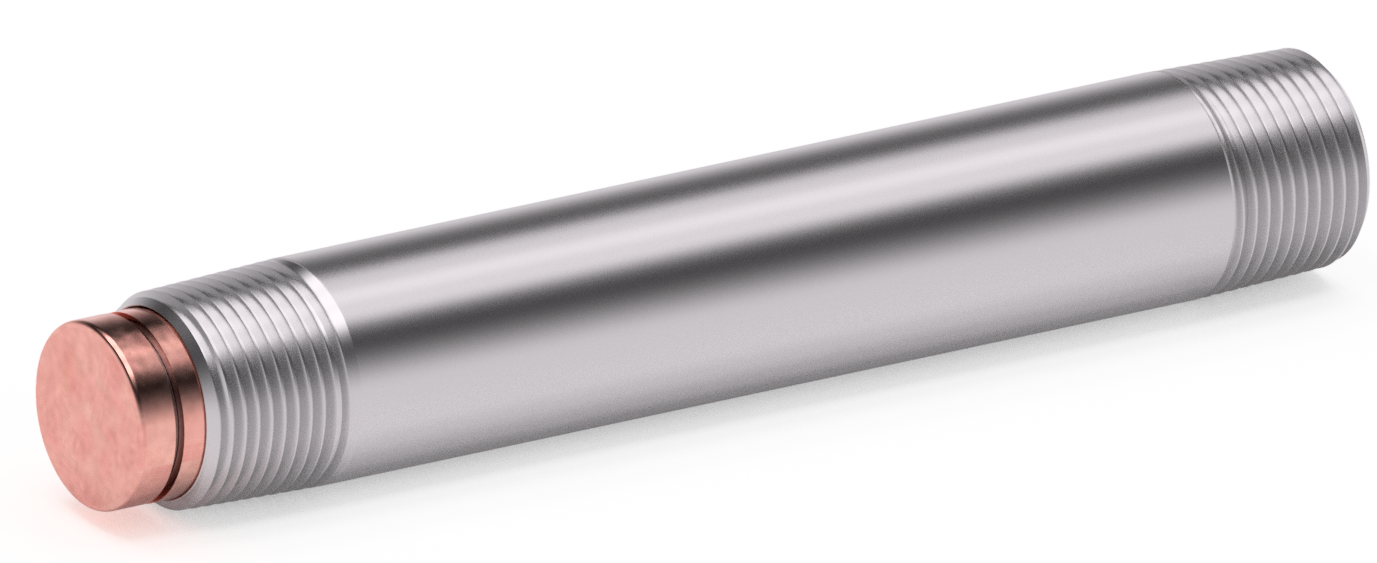
For optimal performance, it is crucial to adjust the piston using sandpaper to smooth the copper caps. Ensure that the piston moves smoothly within the tube, and check for any potential obstructions or irregularities that may affect its functionality.
STEP 4: CAP HOLE
The components
-
1 x 1/2" cap (4)
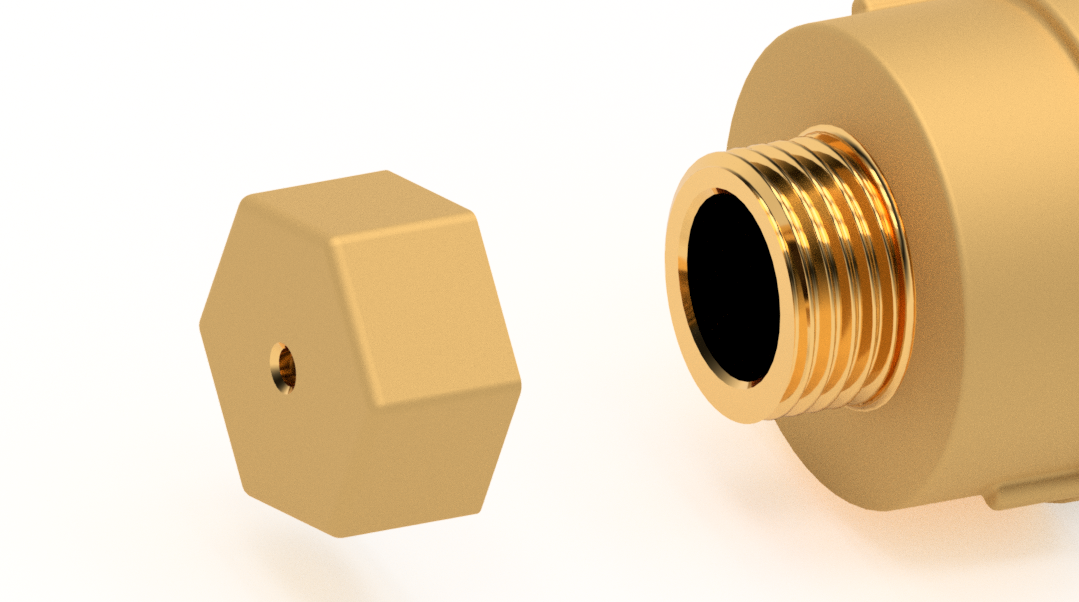
One of the necessary operations is to drill a 3mm hole using a metal drill bit and a power drill. This hole is made in the 1/2" bronze cap. The hole is intended for inserting the temperature probe, and for safety reasons, it helps prevent pressure build-up in the tube.
STEP 5: ASSEMBLE THE CARTRIDGE
The components
-
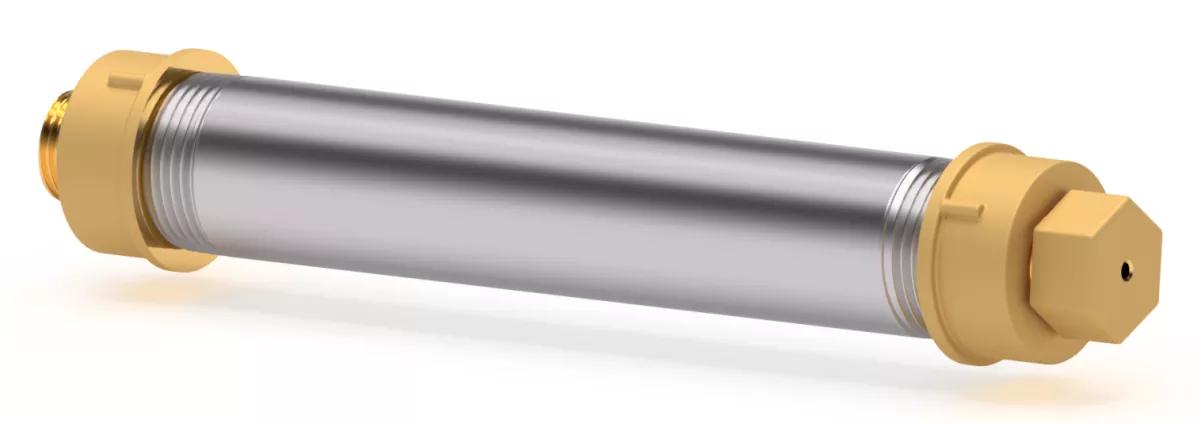
1 x two sides threaded 1" tube x 20cm (1)
-
2 x 1" to 1/2" reducers (2)
-
1 x piston (3)
-
1 x 1/2" cap (4)
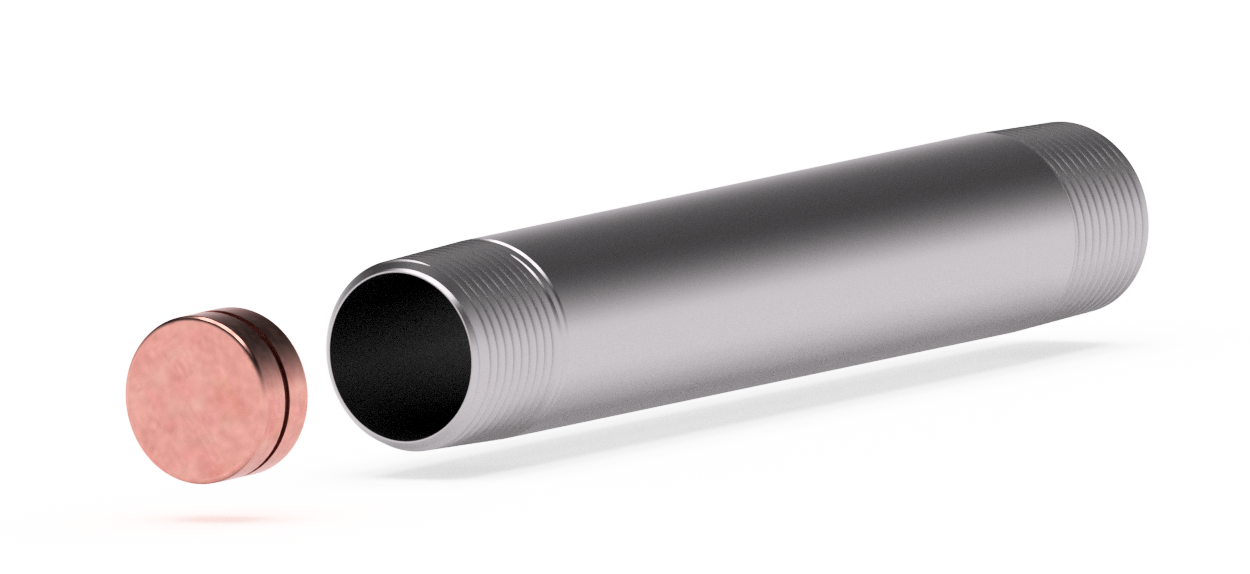
For the assembly, begin by inserting the piston into the 1-inch tube, ensuring that the piston sits snugly at the entrance. Next, assemble the two 1" to 1/2" reducers, and finally, attach the 1/2" brass cap.

Using the Cartridge
FILL THE CARTRIDGE
Open the cartridge on the opposite side of the piston, typically the side with the brass cap. Check by looking inside the reducer; the piston may shift after injection. In this case, switch the 1/2" brass cap and take off the good reducer.

Already equipped with the piston and one of the connected reducers. Apply pressure to the material during the filling process.
CLOSE THE CARTRIDGE
Connect the second reducer(2) if possible and fill it. Seal it with the 1/2" bronze cap(3), ensuring the cap has a vent hole to prevent issues during heating.

INJECTION
Attach the 1/2" cartridge output to the mold (4), then connect the cartridge (5) to the manual injector
Use the manual injector piston plunger to perform the injection (6).

REMOVE THE REDUCERS AFTER INJECTION
Detach the reducers from the cartridge while it is still hot, as it is easier to remove at this stage. Handle the cartridge with caution, considering its elevated temperature and the potentially hot plastic contents.
Please log in or sign up to comment.